‘Patience is a virtue’ Grandma Beattie used to chant if I was restless, waiting for my mum to come and collect me. ‘…. possess it if you can. Seldom found in a woman, but never in a man.’
Not the most PC of sentiments, so we will pass over the gender stereotyping and just reflect on the patience required by the average seamstress. There are a lot of painstaking steps in shirtmaking, and collar application is one of the trickiest. Once the collar is on, I feel a shirt is really on its way.
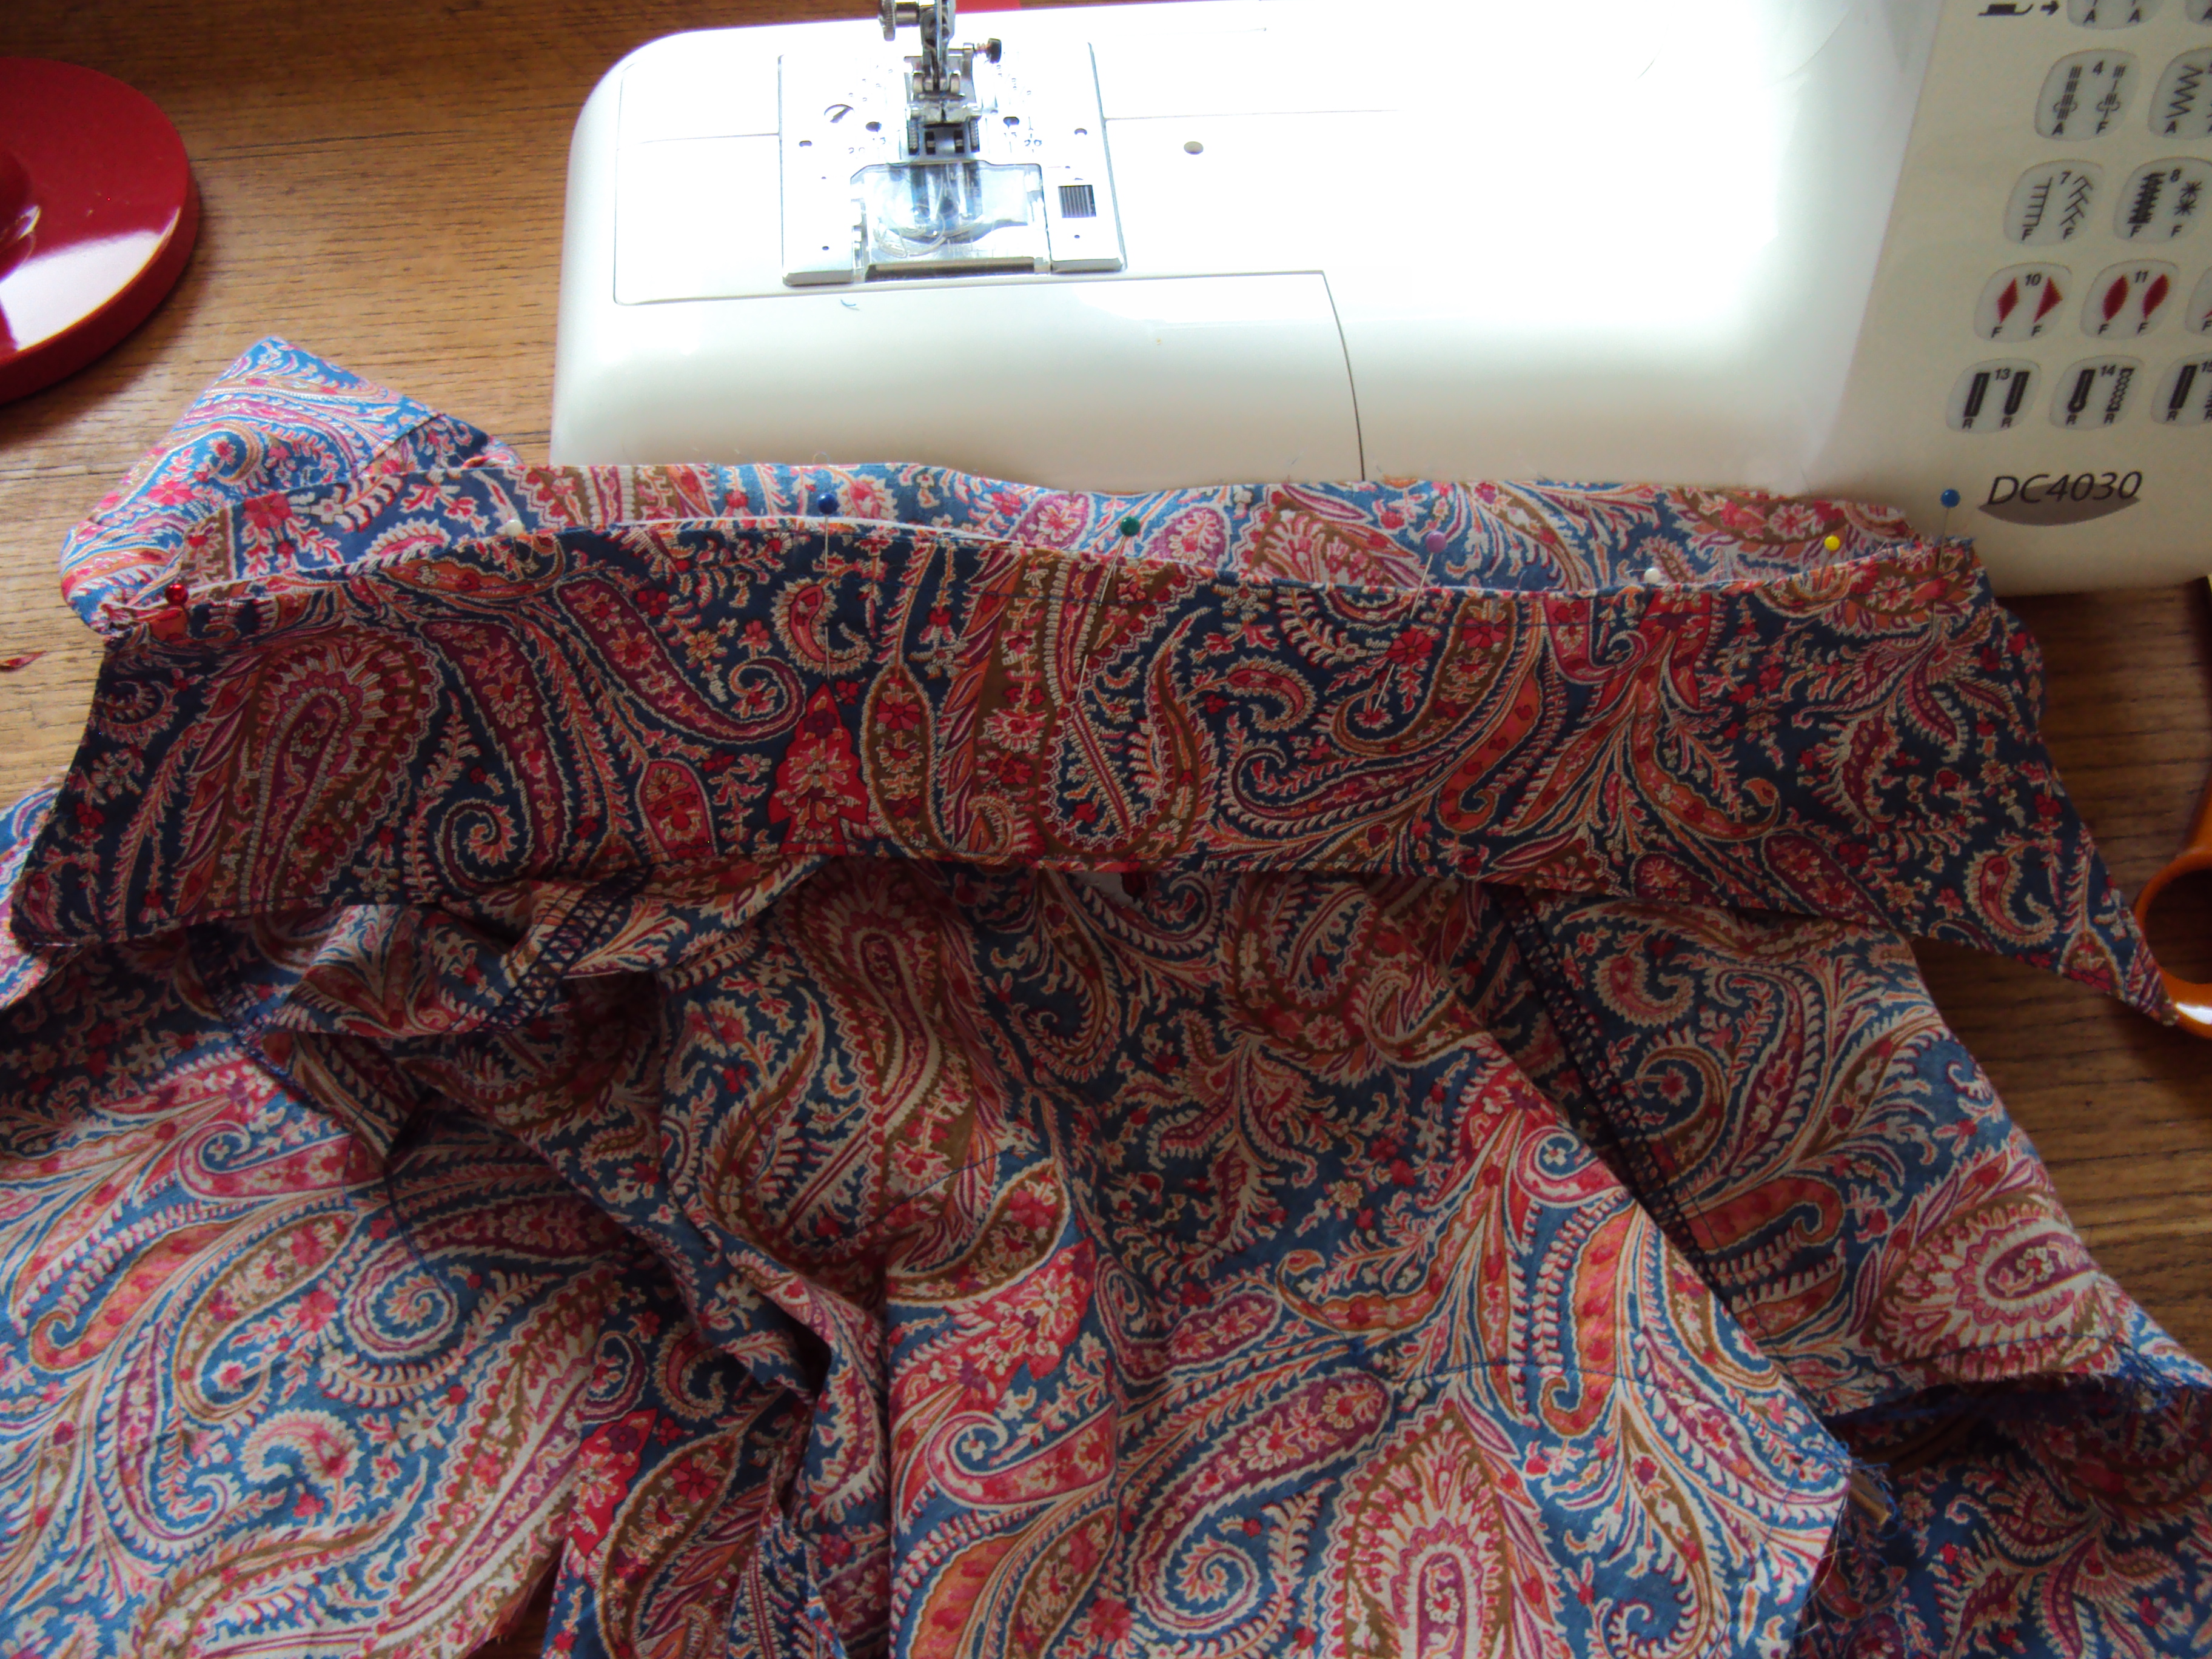
Today I have been putting the collar onto my latest project, a gold-piped paisley.
The first step is to prepare the collar – I use a non-woven fusible interfacing in a medium weight. Once I have stitched the collar to its facing, I reinforce the corners with a second row of stitching. There’s nothing more irritating than making a perfect collar then having the corners fray out when you trim and turn it, and I find this reinforcement puts a stop to that.
Then I turn, press and topstitch the collar. I like to use this presser foot – it’s meant for embroidery stitches really, but it runs neatly along the edge of the fabric, and I de-centre the needle to get it 1/8 of an inch from the edge.


Once the collar is made, I attach the interfaced half of the collar band to the wrong side of the shirt. It’s really important that the first stitch is really accurately placed on the edge of the front band, because that will be my guide later… you’ll see. Then I turn over the shirt and pin the band facing to the other side. I turn it back to attach it, though, and use the previous stitching as a guide. Then check that everything has gone on smoothly and that there are no tucks in the shirt.


Now for the tricky bit. Holding the band and facing apart, I roll back the shirt front to tuck it out of the way of the seam I’m about to sew.


I pin the band and facing together and lower the needle to the exact point where the shirt front meets the collar band. Then I move it a millimetre to the left. If I don’t do this there will be a bobble where the band meets the front and that’s the kind of thing that keeps me awake at night. Then I sew a lovely curve to the point on the band where the collar will attach.
")


Turn it and press it, and now it’s time to attach the collar. I sew it to the interfaced part of the band, then trim the seam and corners.
I press the seam toward the shirt, then fold the uninterfaced part of the band towards the collar and tuck the seam allowance under, glue basting it over the seam. This special water soluble glue is a god send – it’s perfect for any edge that you need to be really crisp.


When everything is firmly held, I topstitch the lower edge of the collar band. Then in one action, I topstitch up one edge of the shirt front, along the collar band and down the other side.


")
Et voila!

